Everything That Will Go Wrong When You Try To Manufacture Your Own Boards.
5 min read

Author

Guides & Explainers
At the beginning of the year, the idea sounded straightforward.
Take a PCB, apply solder paste, place the components, put it through an oven, and boom you have a board. At least, that’s what it seemed like.
Over the past several months, we’ve been building out more of our manufacturing capability inside the BotBlox offices, and we’ve discovered something: there is an enormous gap between knowing the steps of PCB manufacturing and actually getting those steps to work reliably.
A component being half a millimetre out of place matters, the temperature of the solder paste matters, even the angle of a squeegee matters. And frustratingly, much of what we needed to learn wasn’t written about anywhere.
Step One: Put the Components on the Board
Our Pick and Place machine, a Neoden N10P, is responsible for taking tiny electronic components from reels and positioning them onto a PCB. It seems simple enough.
Again, though, everything has to be addressed with close attention.
For starters, programming the machine means we effectively need separate programs for the front and back of a board. Every component also has to be matched with the correct nozzle depending on its size. An 0402 component, for example, might use a CN040 nozzle.
Then you’ve got the parameters: component dimensions, pickup speeds, placement speeds, delays, calibration values, and recognition settings. Each one needs to be correct. And even when they are correct, things can still go wrong.
A component might not be recognised properly. A reel might behave differently from another. A nozzle might pick something up imperfectly. And so on.
You’re starting to see the issue right?

Before You Place Anything, You Have to Paste It
Of course, the Pick and Place machine can only do its job if the PCB has been pasted properly first.
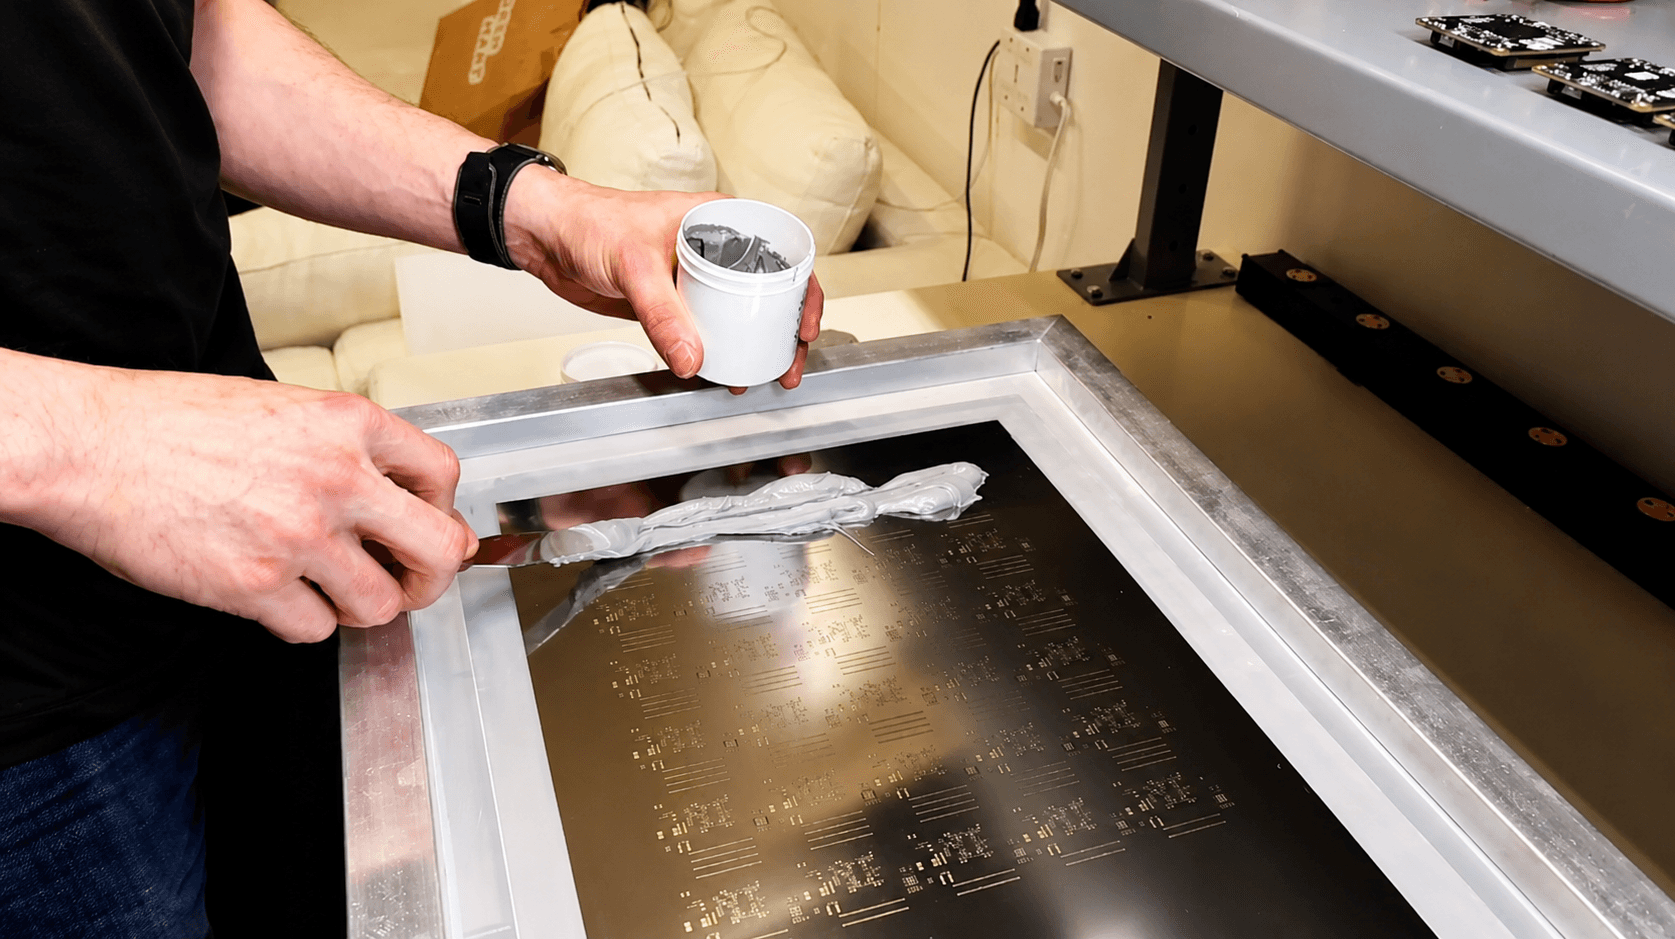
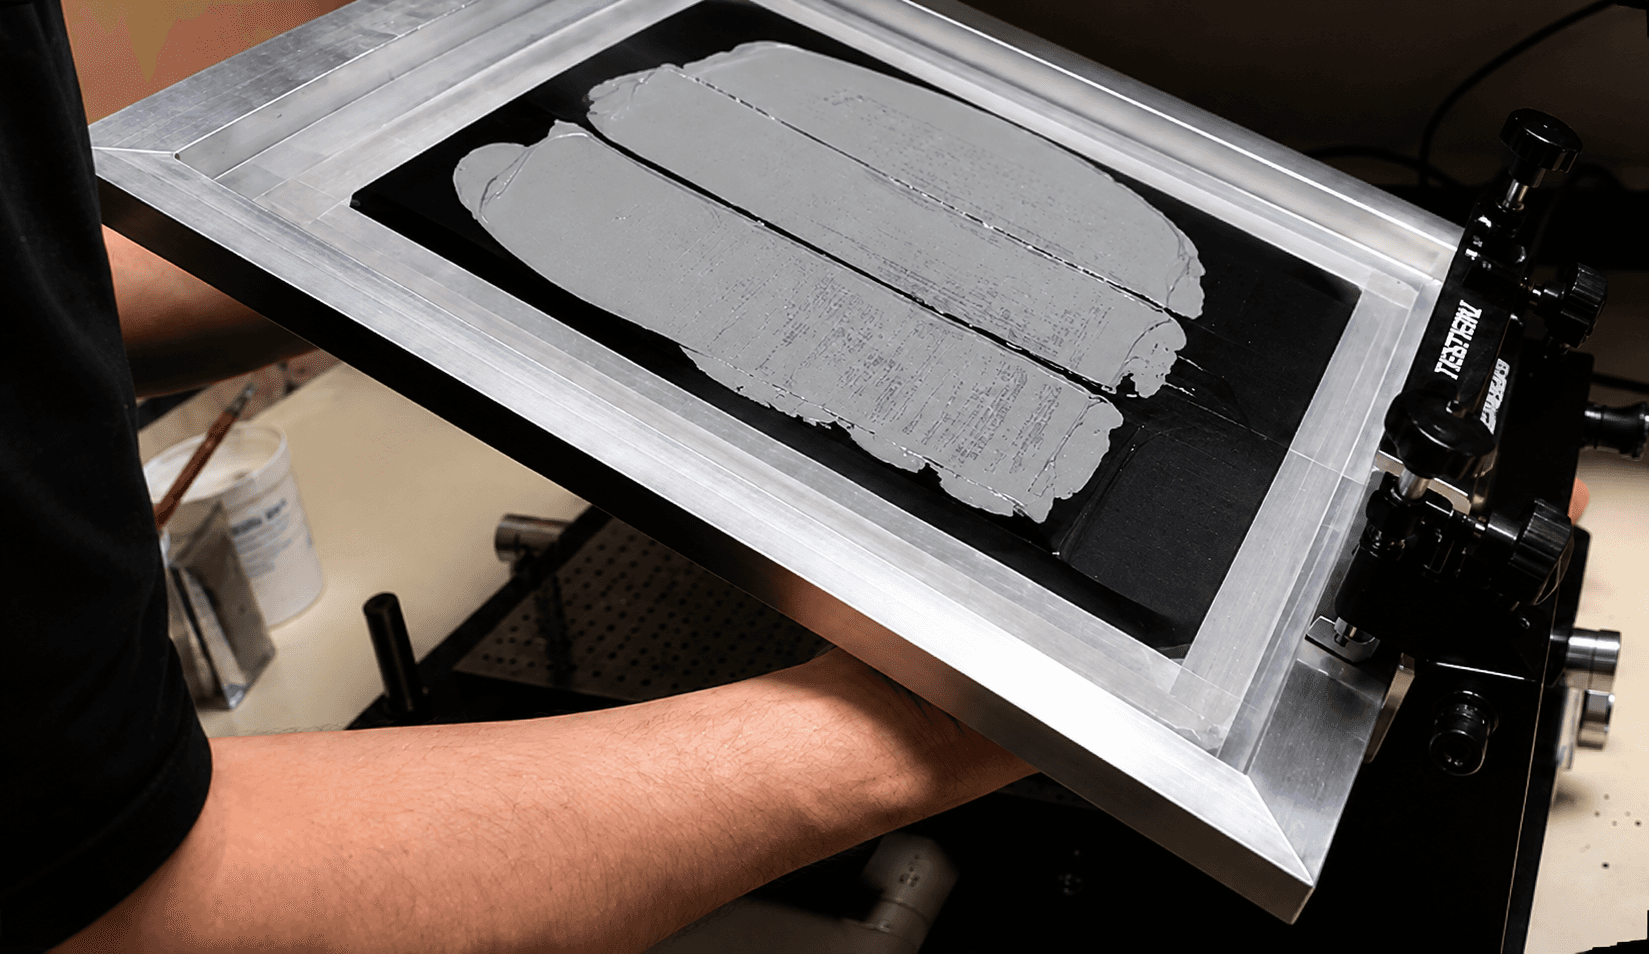
Solder paste is applied through a stencil, a thin sheet of metal with openings corresponding to the pads on the PCB. We initially pasted boards manually using a squeegee. As I’m sure you’ve caught on, this again presents its own set of problems. Everything from the pressure to the speed to even the angle of the squeegee matters.
After quite a bit of trial and error, we’ve figured out how to do this much more consistently. One bit of knowledge we can impart is that the width of the squeegee matters too. Moving to one that could cover the whole stencil made the process far more reliable.
Then there’s the paste itself.
We changed from T4 to T5 solder paste, which has smaller solder particles and helped the paste distribute more effectively during reflow. Its temperature matters too. Solder paste generally needs to stay cold when it isn’t being used. Leave it sitting out unnecessarily and you introduce yet another variable into the process.
Then We Discovered the Importance of a Good Jig
One of the less glamorous pieces of manufacturing equipment has also turned out to be one of the most important: the panel jig.
The jig holds the PCB panel in exactly the right position while solder paste is applied. If the panel isn’t aligned properly, the paste can be offset from the pads. Not good. Components may not sit properly, parts can be misplaced, and defects might only show up later in the process—making them much more painful to diagnose and fix.
The panel also needs to be well supported from underneath. If it isn’t level, pressure from the squeegee can flex the panel and cause the paste to distribute unevenly.
The biggest lesson we’ve taken away from this is that a problem at one manufacturing stage often doesn’t reveal itself until the next one.
And Finally, Put It in the Oven
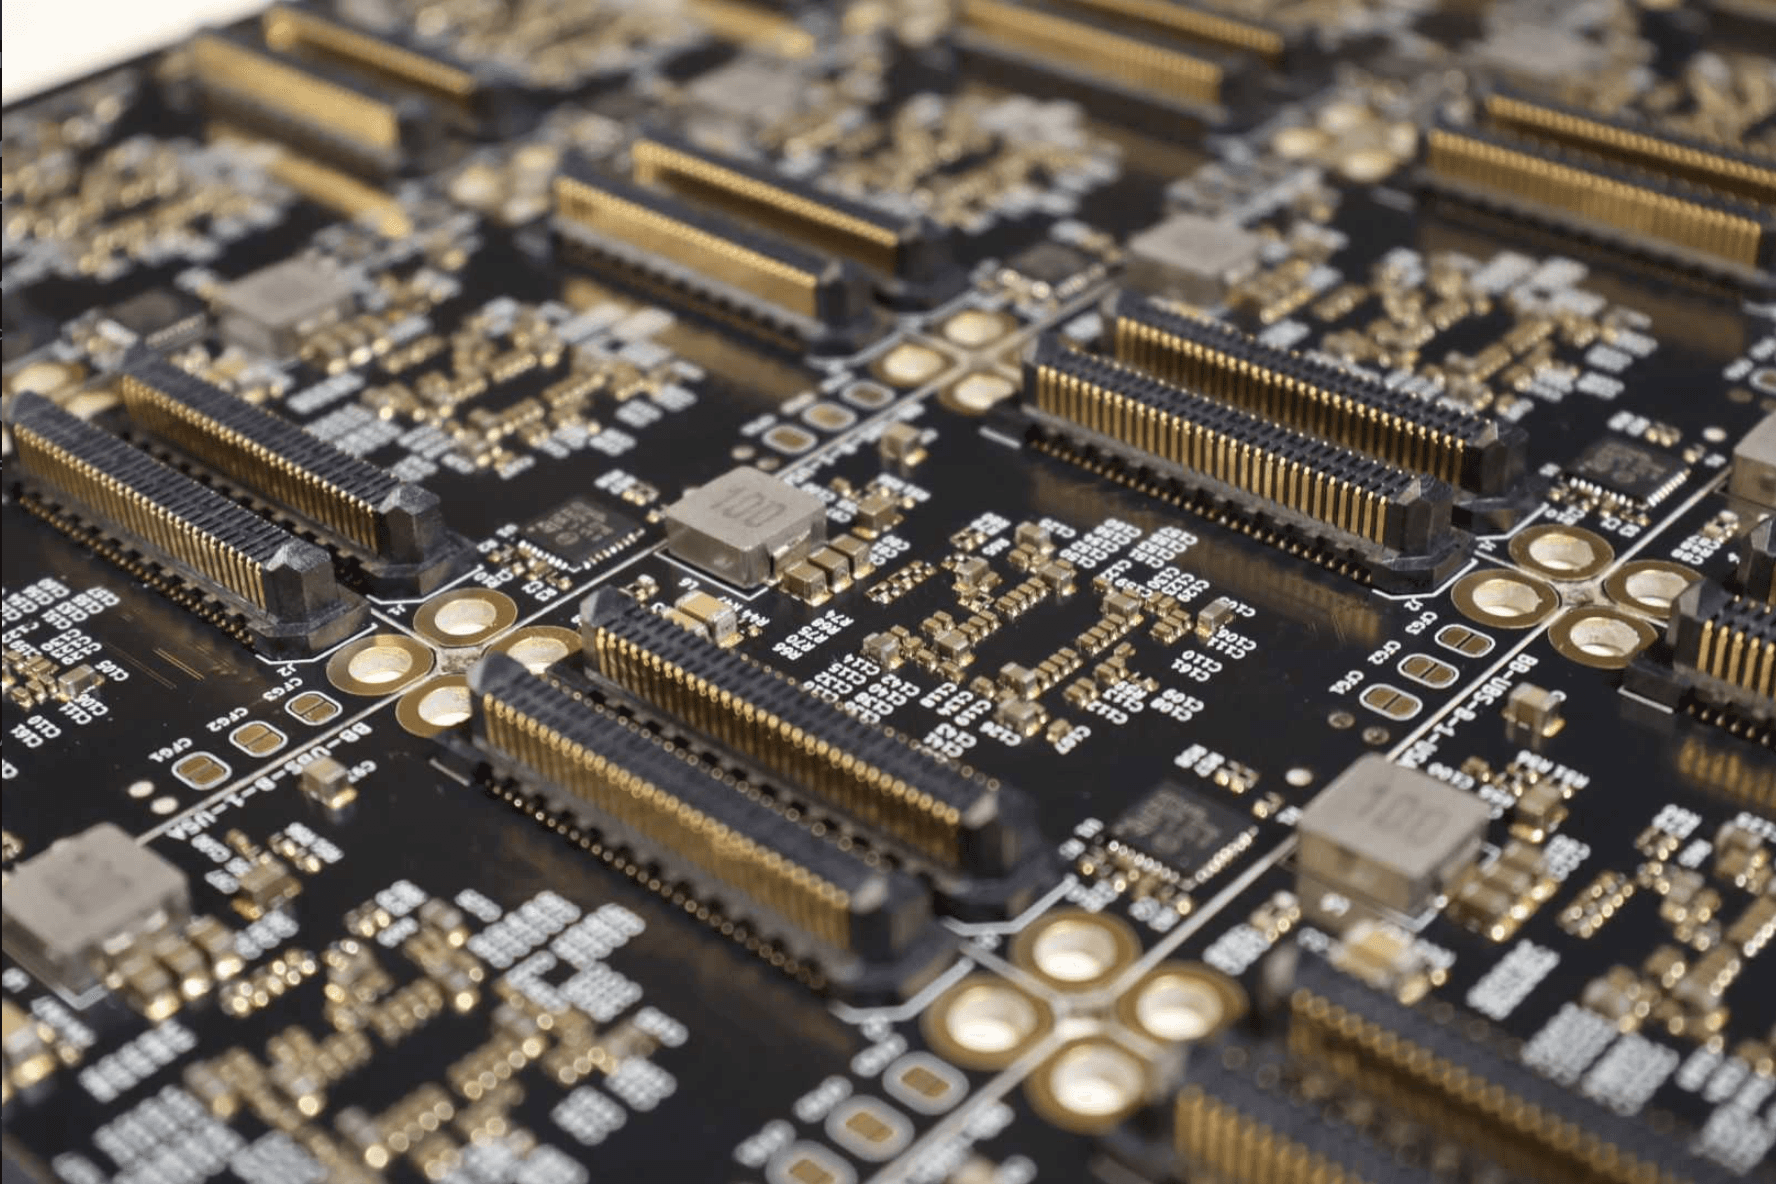
Once the components are placed, the board goes through reflow.
This is where the solder paste melts and creates the electrical and mechanical connections between the components and PCB.
Again, the basic idea is simple. The difficult part is the temperature profile. Heat the board too little and the solder may not reflow correctly. Heat it too aggressively and the PCB itself can begin to warp. And a warped panel doesn’t only create a reflow problem. Run that panel through manufacturing again and suddenly the stencil may not sit correctly. The Pick and Place machine may struggle to position components. Parts may move or fail to sit properly.
Once again, one small issue can turn into three more.
And No One Writes About It
Perhaps the biggest surprise has been how difficult it is to find good information about any of this.
There are datasheets and machine manuals, temperature charts and forum posts, but no one has written the guide we really needed: everything that will go wrong when you try to manufacture your own boards.
A huge amount of practical electronics manufacturing knowledge appears to live inside factories, inside experienced engineers’ heads, or inside companies that have spent years refining their own processes.
So much of what we’ve learned since January has come from hours of testing, failed boards, adjustments, and trying again. And that might be the most valuable part of bringing manufacturing into the office. We aren't only learning how to build our boards, we're learning all the tiny reasons why building them well is difficult.
Hopefully, this fills in at least a few pages of the manufacturing manual we wish we’d had back in January.